The Ultimate Countdown Timer Builder for Email & Website in Seconds
Drive urgency, boost clicks, and increase conversions with beautifully designed countdown timers — embedded in your emails or live on your website. No coding required.
Create countdown timerTime is running out to claim your exclusive discount. Check out the timer below to see how much time you have left!
123 Timer St, Digital City, WEB 404
Everything you need to create urgency
Our powerful suite of tools makes it easy to add professional countdown timers to any digital platform.
Easy Integration
Copy and paste a single line of code into your website, email, or any platform that supports HTML.
Real-time Updates
Your countdown timers update in real-time, ensuring your customers always see the most accurate time.
Customizable Designs
Choose from a variety of templates and customize colors, fonts, and styles to match your brand.
Mobile Responsive
Our countdowns look great on all devices, from desktops to smartphones.
The most powerful tools for your campaigns
Drive more engagement with our advanced customization options.
Localization Ready
Create countdown timers that feel native to your audience. Countdown Builder supports multiple languages with localized labels and number characters, so your timers match the language and reading style of your users. Need Arabic numerals instead of English? Simply select Arabic in the timer style settings.
- Multiple language support
- Localized labels and numerals
- Arabic numerals available

Custom Background Image
Elevate your countdown timer's design by uploading a custom background image, allowing for seamless integration with your brand visuals. Choose from flexible placement options—centered for a focal effect or tiled for a patterned backdrop.
- Upload custom background images
- Seamless brand integration
- Flexible placement options
Evergreen Timer
Deploy evergreen countdown timers that dynamically reset based on each subscriber's open time, creating personalized urgency without expiration dates for sustained campaign performance.
- Individual subscriber reset
- Personalized urgency
- No expiration dates
Custom Timer Labels
Tailor timer labels (e.g., "Tage", "Stunden", "Minuten", "Sekunden") with your own text in any language, enabling seamless localization and enhanced relevance for international audiences.
- Customizable timer labels
- International relevance
- Easy localization
Premade Template
Choose from a diverse set of over 30+ professionally designed templates to quickly and effortlessly create polished, high-quality countdown timers for your email campaigns.
- 30+ professional templates
- Polished and high-quality designs
- Quick and effortless creation
Custom Color
Easily adjust both the foreground and background colors of the countdown timer to create a cohesive and visually appealing integration with your email design.
- Adjust foreground and background colors
- Cohesive email integration
- Visually appealing designs

Animation Control
Incorporate a captivating pulsing animation for the timer separator to create a visually engaging effect that captures attention and enhances user experience.
- Pulsing animation for separators
- Captivating and engaging effect
- Enhanced user experience
Label Styling
Fully customize the appearance of timer labels (Days, Hours, Minutes, Seconds) with flexible options for color, font type, and size to improve readability and aesthetic appeal.
- Custom color, font, and size
- Improved readability
- Aesthetic appeal

Custom Font
Choose from an extensive collection of fonts to perfectly match your email's style, ensuring the countdown timer seamlessly aligns with your brand's unique typography.
- Extensive font selection
- Brand alignment
- Unique typography
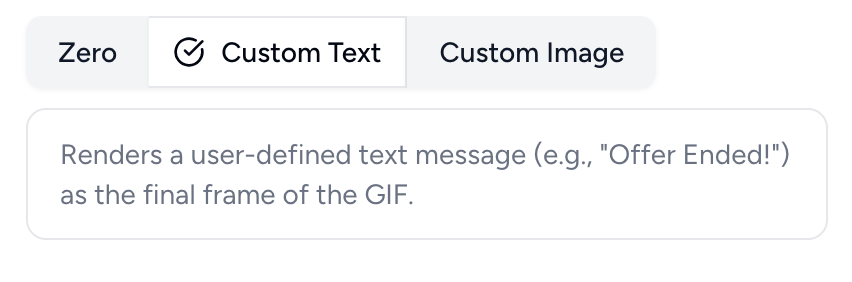
Custom Expiry Settings
Set a custom expiry state for your countdown timer. Select from a custom image (e.g., "Sold Out" graphic), zero (displays "00:00:00"), or custom text (e.g., "Offer Ended!") as the final frame.
- Custom image or text on expiry
- Post-expiry branding
- Tailored final display
Transparent Background
Create countdown timers with transparent backgrounds, allowing you to place them seamlessly over any background color or image in your email designs for a perfect visual fit.
- Full transparency support
- Seamless design integration
- Works with any background

Choose the right plan for you
Whether you're just starting out or running a large-scale business, we have a plan that fits your needs.
View Detailed PricingFrequently Asked Questions
Can't find the answer you're looking for? Reach out to our support team.
Contact Support