
How to Add an Email Countdown Timer in Omnisend (Plus a Resend OTP Timer Tip)
 By Mehedi Hasan
An email countdown timer shows subscribers how much time remains on a sale, event registration, or other time-limited offer. This tutorial walks through creating a timer in Countdown Builder and adding it to an Omnisend email campaign using the HTML Code element. It ends with a short tip for using a timer in verification and one-time-passcode emails.
When a Countdown Timer Is Useful in Omnisend
A countdown timer fits campaigns with a genuine deadline: a sale that ends at a specific time, a registration cutoff, a launch window. The timer makes the remaining time visible instead of leaving it implied in the copy.
A timer does not create a deadline by itself. If the offer does not actually expire when the timer reaches zero, subscribers notice, and the timer costs trust rather than earning attention. Use one when the deadline is real.
Step-by-Step Guide to Adding an Email Countdown Timer in Omnisend
The flow in Omnisend:
flowchart LR
    A["Create the timer in Countdown Builder"] --> B["Open your Omnisend campaign"]
    B --> C["Add an HTML Code element"]
    C --> D["Paste the timer code"]
    D --> E["Preview and launch"]
Step 1: Create a Countdown Timer with Countdown Builder
- Visit Countdown Builder: Go to https://app.countdownbuilder.com/ and sign up for a free account.
- Start a New Timer: Once logged in, navigate to the dashboard and click the “Create” button to start designing your countdown timer.
- Customize Your Timer:
- Choose a Template or Design from Scratch: Countdown Builder offers 65+ templates. Pick one that matches your email’s design or create a custom timer from scratch.
- Set the Countdown Date: Specify the end date and time for your campaign (for example, a sale ending in 48 hours).
- Style the Timer: Use Countdown Builder’s customization options to match your email template:
- Custom Colors: Adjust the foreground and background colors to align with your brand.
- Font Selection: Choose from a range of fonts so the timer complements your email’s typography.
- Label Styling: Customize the labels for Days, Hours, Minutes, and Seconds with your preferred font size, color, and style.
- Pulsing Animation: Add a pulsing separator animation.
- Preview Your Design: Use the preview feature to see how your timer will look in your email.
- Save and Copy the Code:
- Once you’re satisfied with your design, click the Update button to save your timer.
- Click the Copy HTML button to copy the generated HTML code for your countdown timer.

Step 2: Add the Countdown Timer to Your Omnisend Email Campaign
Log in to Omnisend: Open your Omnisend account and navigate to the email campaign you want to edit or create a new one.
Edit Your Email Template: In the Omnisend email editor, go to the section where you want to place the countdown timer.
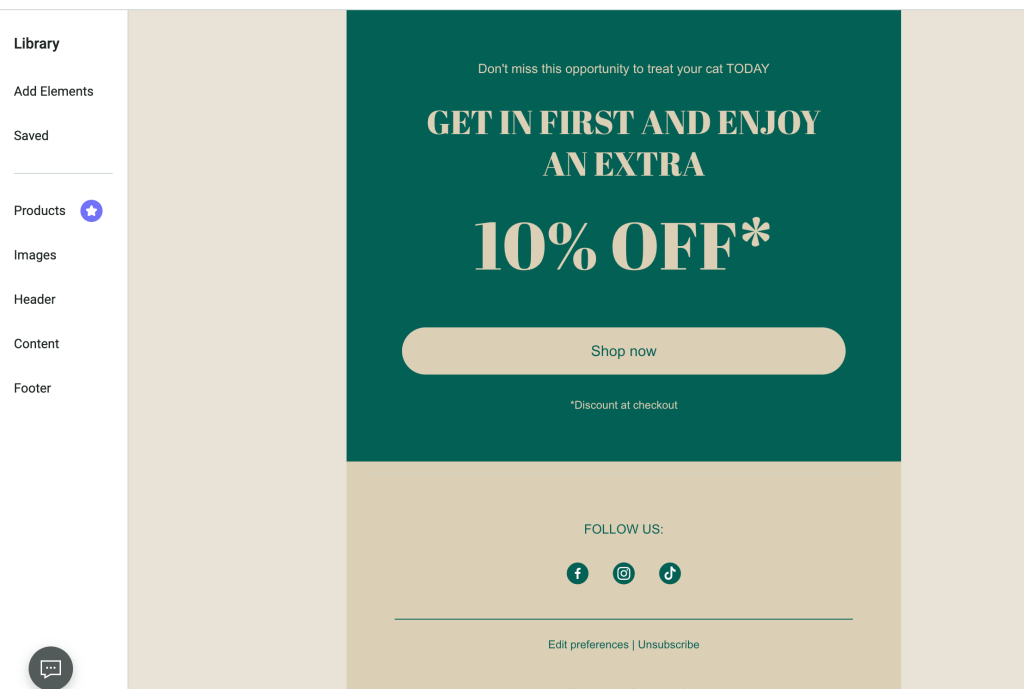
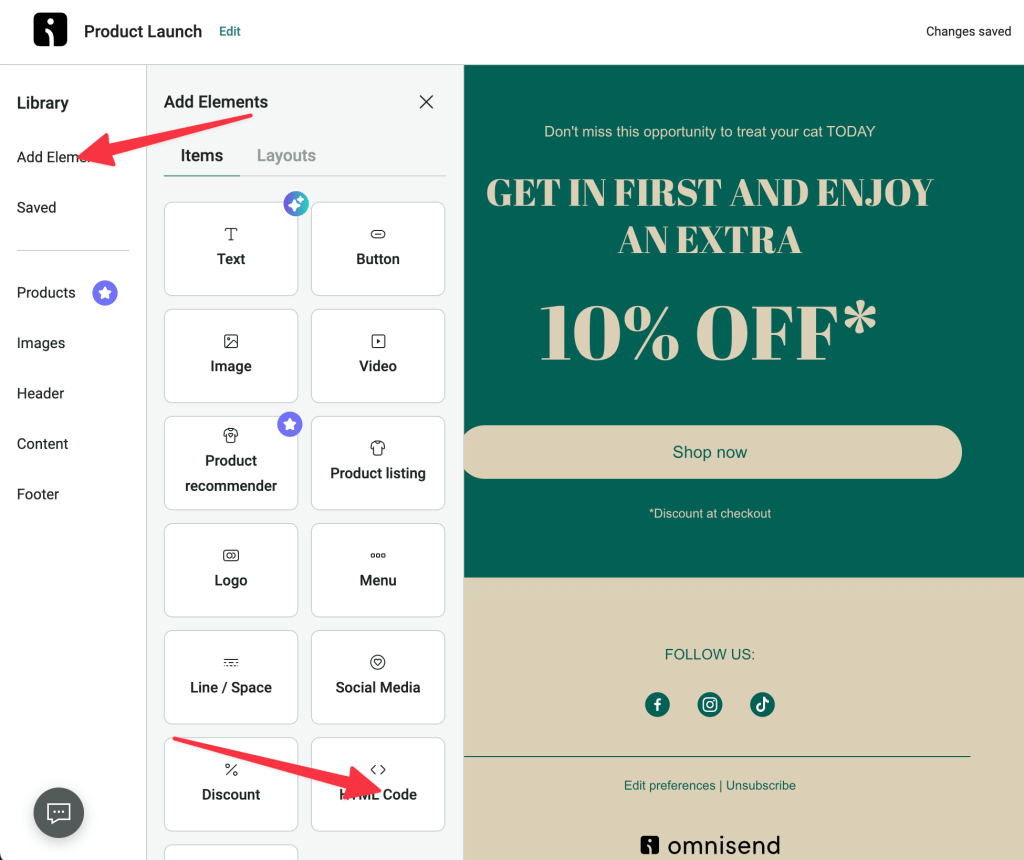
Add an HTML Code Element:
- Click Add Elements in the Omnisend editor.
- Select the HTML Code element from the available options.
Paste the Countdown Timer Code:
- In the HTML box that appears, paste the HTML code you copied from Countdown Builder.
- Save the changes to ensure the timer is embedded in your email template.

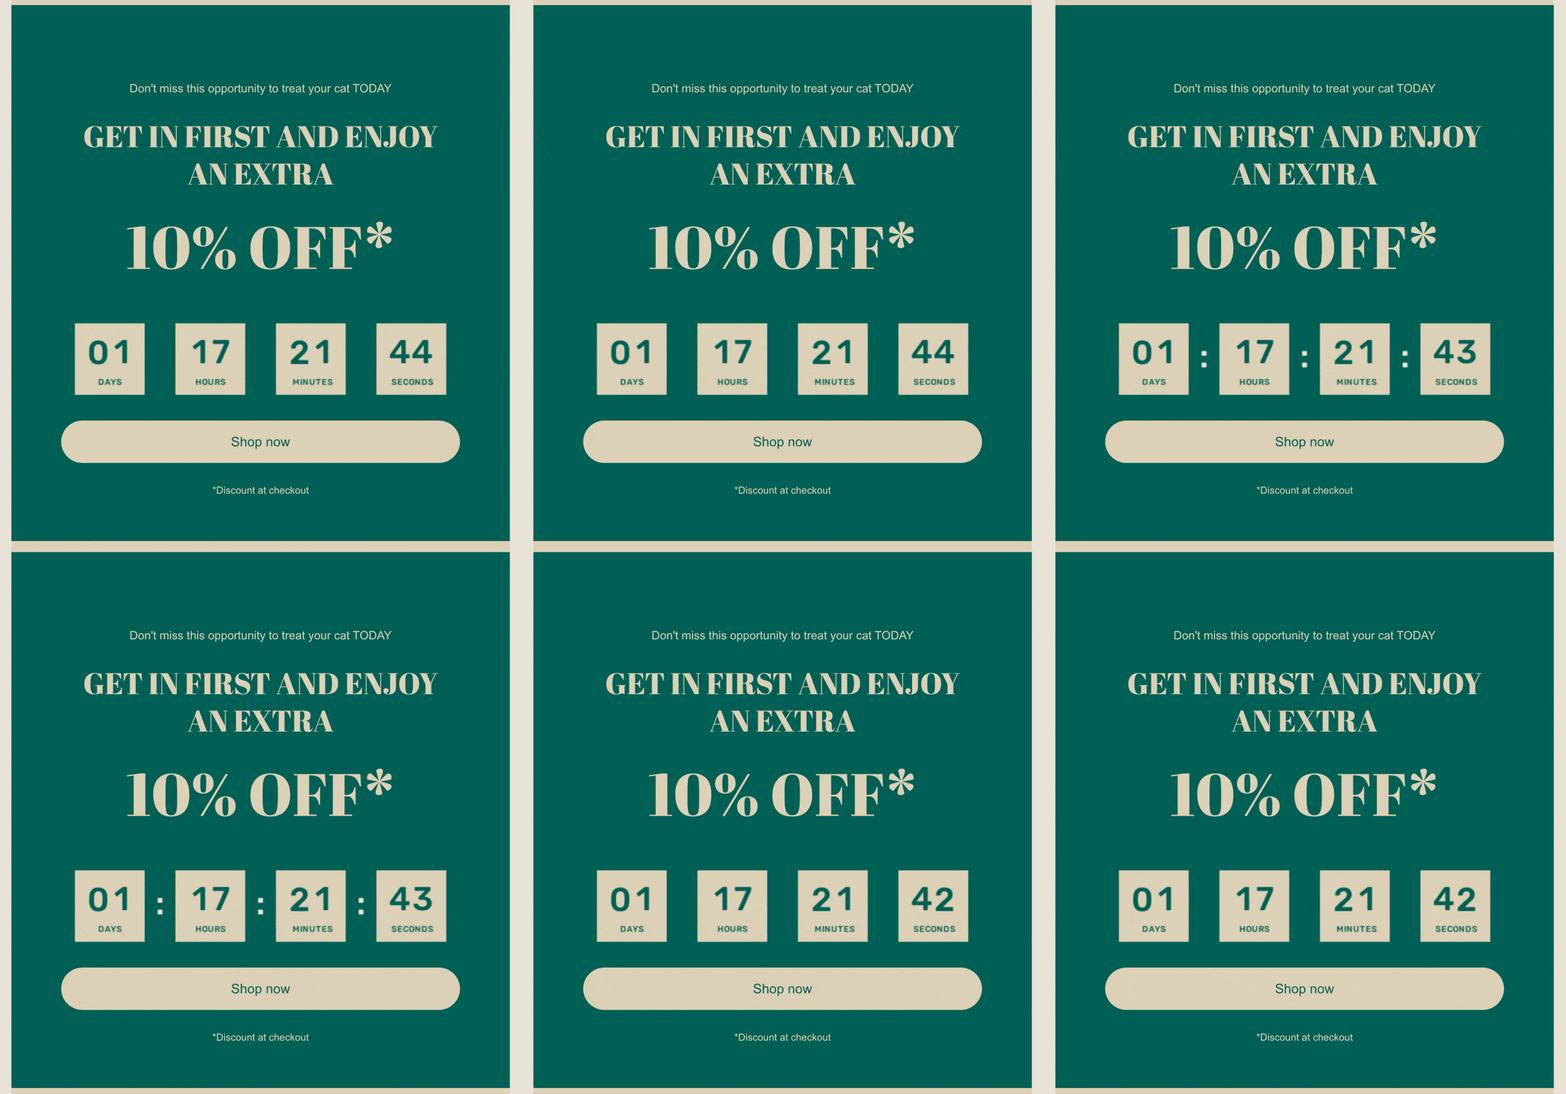
Preview and Test: Preview your email in Omnisend to confirm that the countdown timer displays correctly and aligns with your design. Send a test email to verify that the timer works across different email clients and devices.
Step 3: Launch Your Campaign
Once you’ve confirmed the timer displays correctly, finalize your email campaign in Omnisend and send it to your subscribers.
Tips for Using a Countdown Timer in Omnisend
- Align with Your Campaign Goal: Make sure the timer’s deadline matches your offer (a flash sale, event registration, and so on) and that the offer actually expires at that time.
- Use Consistent Branding: Match the timer’s colors and fonts to your email template.
- Test Across Devices: Verify that your timer displays correctly on mobile and desktop email clients.
- Track Performance: Use Omnisend’s campaign reporting to compare engagement on similar emails with and without a timer before making timers a regular part of your sends.
Bonus Tip: Resend OTP Timer for Verification Emails
Countdowns aren't only for promotions. If you send verification or one-time-passcode emails, a resend OTP timer shows recipients how long their code stays valid — "This code expires in 9:41" — and how long they must wait before requesting a new one.
Since every code is issued at a different time, each recipient needs their own deadline. Countdown Builder's dynamic timer accepts an endsAt timestamp per recipient via your merge tags, so the image counts down to each person's exact expiry moment. Embed it in Omnisend exactly the same way: paste the HTML into an HTML Code element in your transactional template. Add plain-text backup copy ("Your code expires 10 minutes after this email was sent") for readers who block images.
If you'd like to try it, you can create a free timer at Countdown Builder. The free plan doesn't require a credit card and doesn't add a watermark to the timer.
Last updated: September 2026. The steps above reflect Countdown Builder and the Omnisend email editor at the time of updating. Product interfaces change, so verify current details in Omnisend's documentation if a step looks different.
Written by Mehedi Hasan
Writer & Developer. He writes about email marketing, countdown timers, and campaign design.
Connect on LinkedIn