
How to Create an Email Countdown Timer (2026)
 By Mehedi Hasan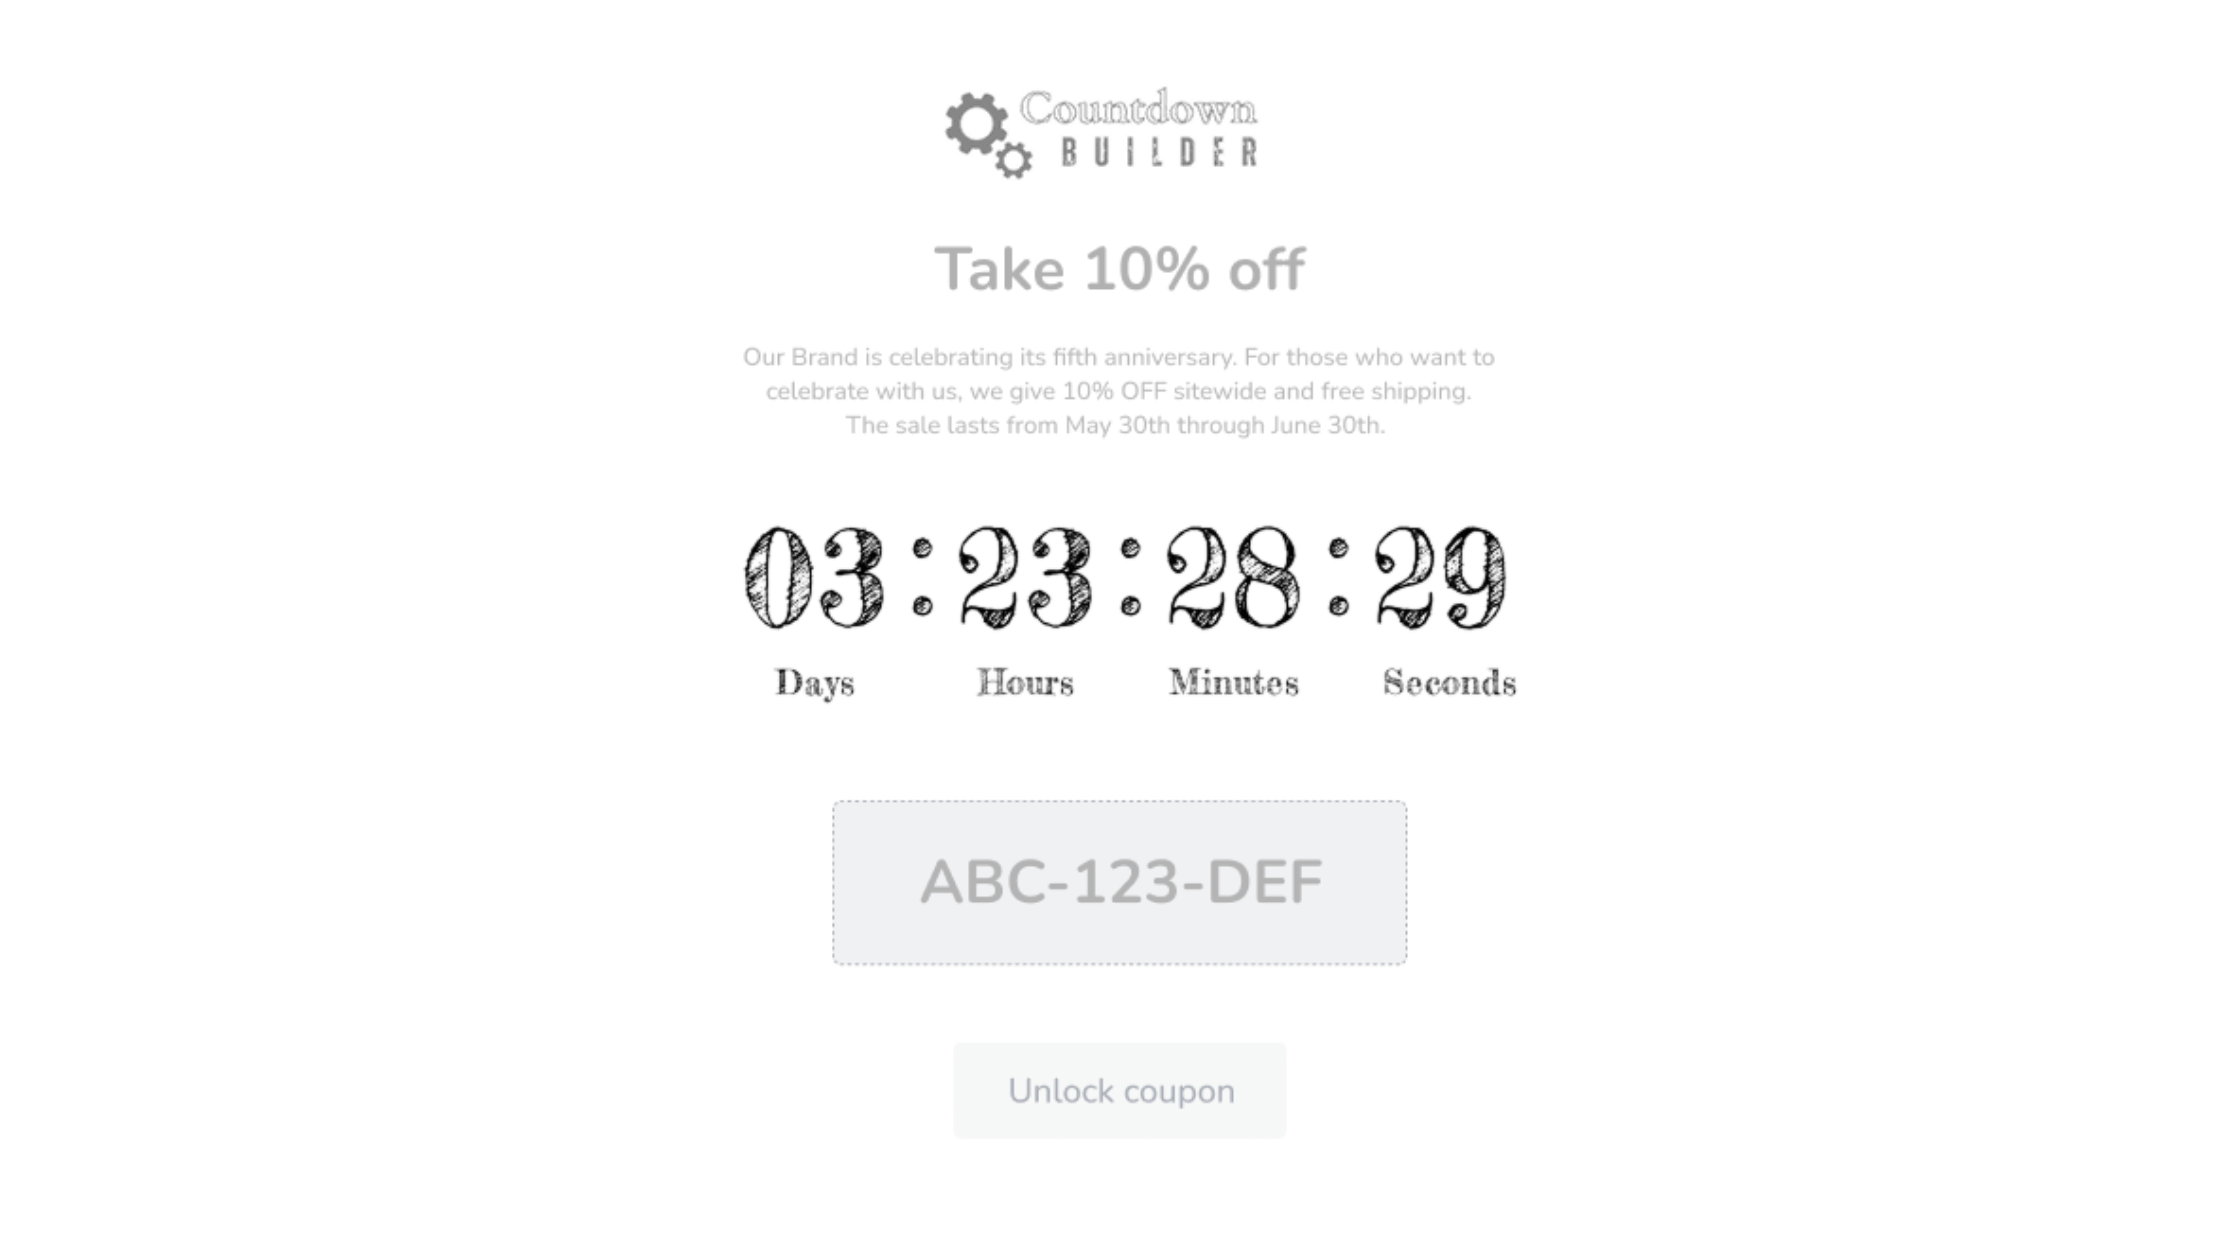
An email countdown timer is a dynamically generated image that shows how much time remains until a deadline — the end of a sale, a webinar start time, a registration cutoff. When a campaign has a real deadline, a timer communicates it more concretely than a line of copy such as "offer ends soon."
This guide covers when a timer is worth using, then walks through the full process: creating one in Countdown Builder, customizing it, embedding the HTML in your email platform, and measuring the results. No coding is required.
When an Email Countdown Timer Helps
A timer is a reasonable choice when:
- The offer genuinely expires. Flash sales, webinar registration windows, product launches, and holiday promotions all have a fixed end date.
- The deadline matters to the reader. The timer answers "how long do I have?" at a glance.
- The email layout has room for it. A timer is an image block, so it needs a clear spot near the main call to action.
A timer doesn't create urgency where none exists. If the offer doesn't actually expire, a countdown reads as a pressure tactic — and subscribers notice when the "expired" deal is still available. Use timers for real deadlines and skip them otherwise.
What a Timer Can and Can't Do
A countdown timer can lift clicks in time-sensitive campaigns by making the deadline visible. It can't:
- Rescue an offer your subscribers don't want
- Substitute for a clear call to action and a well-written email
- Be reused on every send without the effect wearing off
Treat the timer like any other element: compare click-through and conversion rates between emails with a timer and equivalent emails without one, and keep whichever performs better.
Step-by-Step: Creating an Email Countdown Timer in Countdown Builder
Countdown Builder works with major email platforms like Mailchimp, GetResponse, and more. The whole workflow looks like this:
flowchart LR
    A[Create a free account] --> B[Customize the timer design]
    B --> C[Copy the HTML snippet]
    C --> D[Paste it into your ESP template]
    D --> E[Send yourself a test email]
    E --> F{Timer renders and counts down?}
    F -- Yes --> G[Schedule the campaign]
    F -- No --> H[Check the embed and client fallbacks]
    H --> E
The steps below walk through each stage.
Step 1: Sign Up and Open the Builder
- Visit Countdown Builder and create a free account or log in.
- Navigate to the dashboard and click Create New Timer to start building.

Step 2: Customize Your Timer
- Set the End Date and Time: choose when the countdown should end, aligned with your campaign's deadline.
- Select a Design Template: pick from the pre-made designs or start from scratch.
- Customize Visuals: adjust colors, fonts, sizes, and styles to match your brand. Add a message such as "Sale ends soon" if it fits the campaign.
- Enable Dynamic Features: the timer updates in real time when the email is opened.

Step 3: Generate and Copy the Code
- Preview your timer on desktop and mobile widths.
- Click Copy HTML to get the embed snippet for your email platform.
Step 4: Embed in Your Email Campaign
- Open your email builder (for example, Mailchimp's Code block or GetResponse's Custom HTML).
- Paste the code into the designated area.
- Send yourself a test and confirm the timer displays and counts down correctly.
The whole process takes a few minutes. And once the campaign is sent, this is what happens every time someone opens the email: the email client requests the timer image from the server, the server computes the time remaining for that moment, and the returned image shows the current countdown.
sequenceDiagram
    participant R as Subscriber
    participant C as Email client
    participant S as Timer server
    R->>C: Opens the email
    C->>S: Requests the timer image URL
    S->>S: Computes time remaining right now
    S-->>C: Returns the countdown image
    C-->>R: Displays the current time remaining
Customization Options
- Custom Fonts and Colors: align with your brand's identity.
- Animated Effects: subtle separator animations that add movement without overwhelming the design.
- Multi-Language Labels: replace the default Days, Hours, Minutes, and Seconds text for other languages.
- Responsive Design: the timer adapts to the device it's viewed on.
Embedding in Popular Email Platforms
Countdown Builder's HTML snippet works with most email service providers:
- Mailchimp: use the Code block for embedding.
- GetResponse: add via Custom HTML.
- Other ESPs: compatible with Klaviyo, ActiveCampaign, and more — just paste the HTML code.
Tracking Performance
Measure the timer with your ESP's analytics:
- Compare opens, clicks, and conversions on timer emails against equivalent emails without a timer.
- Watch unsubscribe and spam-complaint rates for signs of urgency fatigue.
- Test one variable at a time: duration, design, placement, or timer versus no timer.
Best Practices
- Keep deadlines honest. Only use a timer when the offer actually expires, and honor the deadline when it passes.
- Test thoroughly. Preview across email clients to catch display issues before sending.
- Combine with a clear CTA. The timer shows the deadline; the button tells readers what to do.
- Segment your audience. Target timers at the lists where the deadline is relevant.
- Avoid overuse. Reserve timers for genuinely time-sensitive campaigns so the effect doesn't wear off.
Potential Problems and Fixes
- Email client compatibility: some clients handle dynamic images differently — most notably classic Outlook on Windows, which shows the timer's first frame instead of the animation. Send test emails and check how the timer renders — the troubleshooting guide covers each cause and fix, and how to add a countdown timer in Outlook covers that client end to end.
- Design overload: keep the timer simple so it doesn't compete with the email's main message.
- Blocked images: some subscribers block remote images by default. Include the deadline in plain text as well ("Offer ends Friday at midnight") so the message survives without the image.
Get Started
If you have a campaign with a real deadline, you can create an email countdown timer in Countdown Builder for free. The free plan doesn't require a credit card and doesn't add a watermark to the timer.
Last updated: September 2026. Features described in this article reflect Countdown Builder at the time of updating and can change. See the pricing page for current plans.
Written by Mehedi Hasan
Writer & Developer. He writes about email marketing, countdown timers, and campaign design.
Connect on LinkedIn